The replay of this webinar is here..
Why Git?
- A lot of developers are not using SCCS even though they feel they should
- If you Google “how do I use Git” there are a tsunami of questions and answers
- Git dominates the open source and professional development ecosystem ▪Git is built into Rad Studio
Other Source Code Control Systems
Apart from Git there is also
- Subversion – often referred to as SVN
- Found at https://subversion.apache.org/
- Very popular, still actively maintained
- JEDI VCS
- Found at http://jedivcs.sourceforge.net/
- Not updated since April 2017
“I don’t work in a team, why would I use a SCCS”
- It’s all about the tornadoes
- Fire
- Theft
- Foul-ups
- It’s almost impossible to avoid Git – you will be assimilated!
What does Git actually do?
- Tracks all the changes you make
- Stores those changes as a viewable history, with comments
- Handles changes from multiple developers
- When used with a cloud provider – saves your code safely off-site
- Allows you to create branches for bugs fixes or new features you are working on
- Can merge changes from multiple developers and even your own branches into the main source tree
- Allows you to easily revert bad changes or experiments which didn’t work out
- Allows you to collaborate with major open source projects
- Can pinpoint who made a change and therefore who to blame ?
- Allows others to make changes to shared source code in a very managed way
- Allows you to share your source code on public web-based services like GitHub, GitLab and BitBucket
Tools to make Git a lot easier
Git can sometimes be a little challenging to use ?
- GitHub Desktop
- Found at https://desktop.github.com
- Sourcetree
- Found at https://www.sourcetreeapp.com
- TortoiseGit
- Found at https://tortoisegit.org
Installing Git on your machine
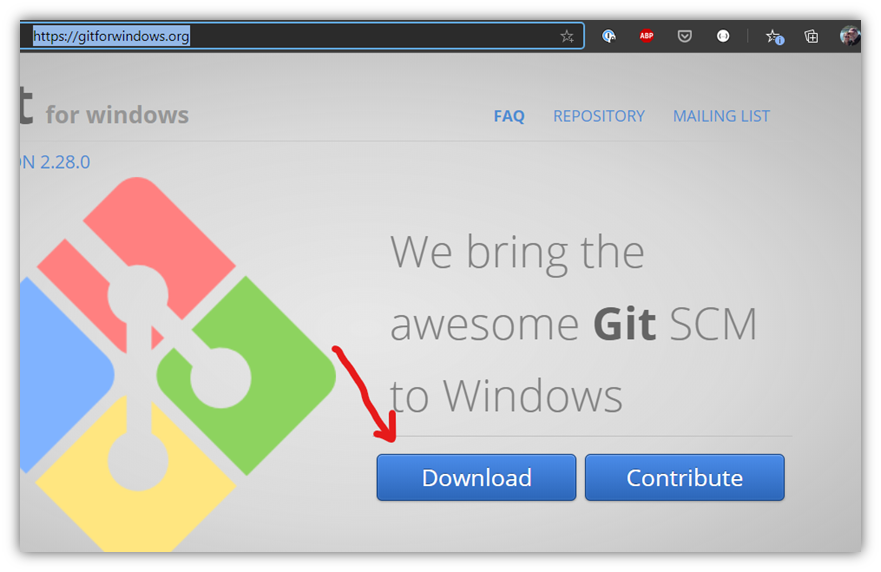
Use the official “Git for Windows” installer
Git for windows found at https://gitforwindows.org
Accept all the Git for Windows defaults…
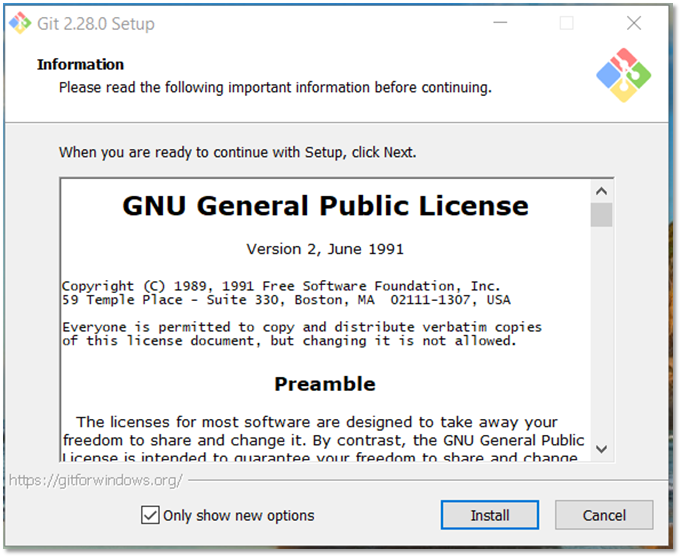
Make a note of where it installs because you will need it later.
The default for 64bit Windows is:
C:\Program Files\Git\bin\git.exe
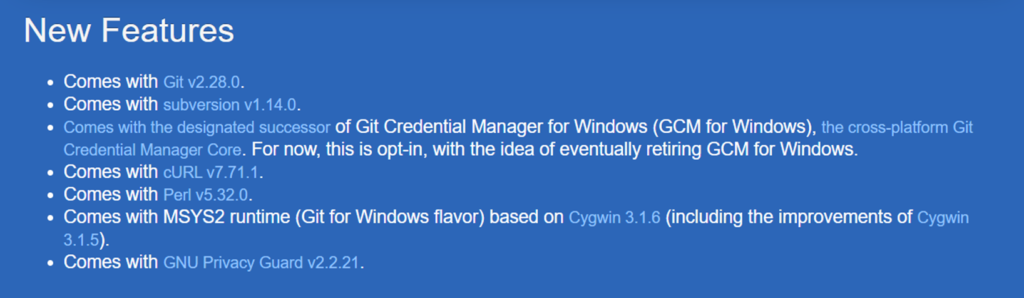
It will install some other cool Open Source things too – including SubVersion!
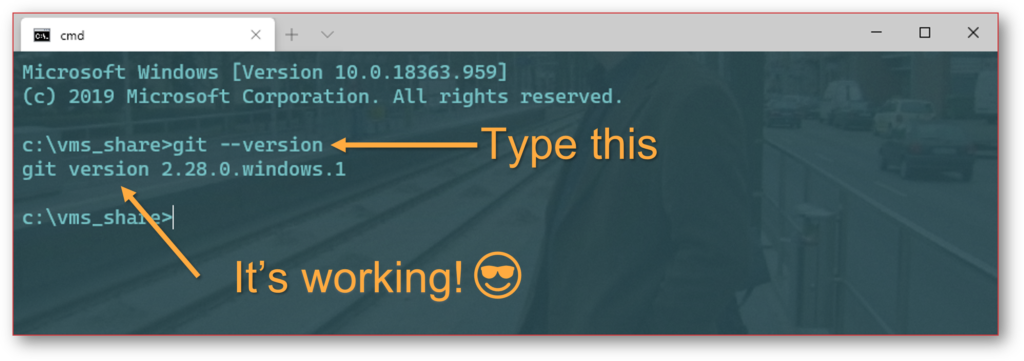
After it Git is installed, check it’s working correctly:
Go to the terminal / command and type
git --version
Git 101
Git keeps track of your files in a special collection / folder it calls a repository – commonly abbreviated to “repo”.
This works best if you keep all your source files for a particular project in one folder on your computer – one folder for each project.
Don’t worry if that’s not how you do things – there are ways around it.
For anything other a purely local set up you will need an account with a Git hosting provider
The main ones are
- GitHub (I personally use GitHub)
- Found at https://github.com
- GitLab
- Found at https://about.gitlab.com
- BitBucket
- Found at https://bitbucket.org
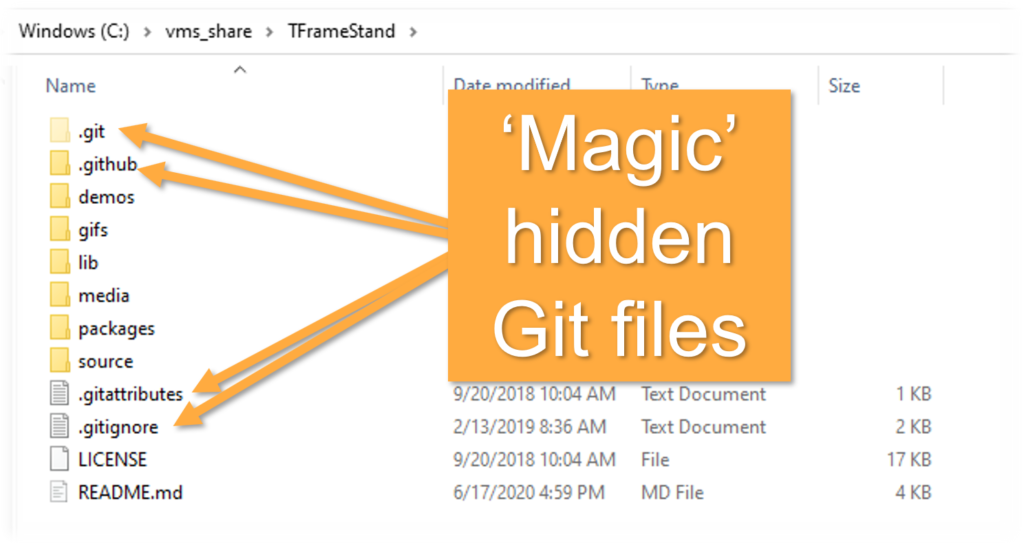
The local repo is tracked in the same folder it ‘lives’ in using a hidden sub-folder and some ‘magic’ files.
Everything else is just your regular Delphi source code, images and project resources.
Once you have created a repo in a project folder any changes you make in the repo folder are tracked by Git from then on.
- Files that existed when you created the repo
- New files created
- Files deleted
- Files edited/changed
This means everything including things you might not want to track – but you can tell Git which files to ignore, for example the _history folder contents and files ending in .~pas and .~dfm
Telling Rad Studio your Git settings
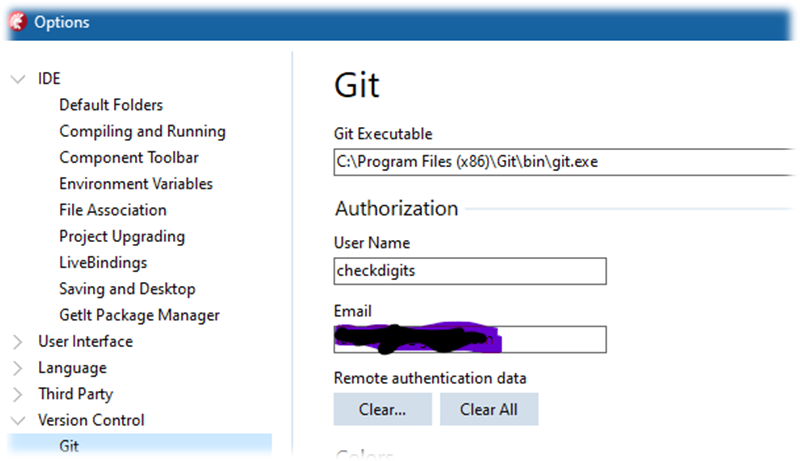
- In the Rad Studio IDE select tools and then options from the menu.
- From that menu select version control and then Git.
Remember the path I told you to make a note of when you installed Git For Windows? This is where you need it ?
The user name and email are the ones you use with your Git hosting company and/or typed in during the Git for Windows installation.
Using Git – opening an existing repository
We are going to ‘clone’ an existing repository. In other words we’re going to copy it to our local machine.

So, first, select File, Open From Version Control from the Rad Studio main menu.
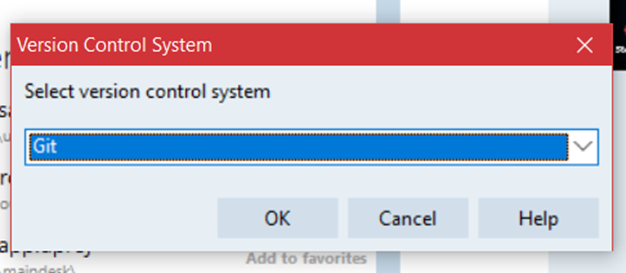
Now choose Git from the dialog which appears.
Now enter the repo’s URL and where you want it to be saved on your local machine
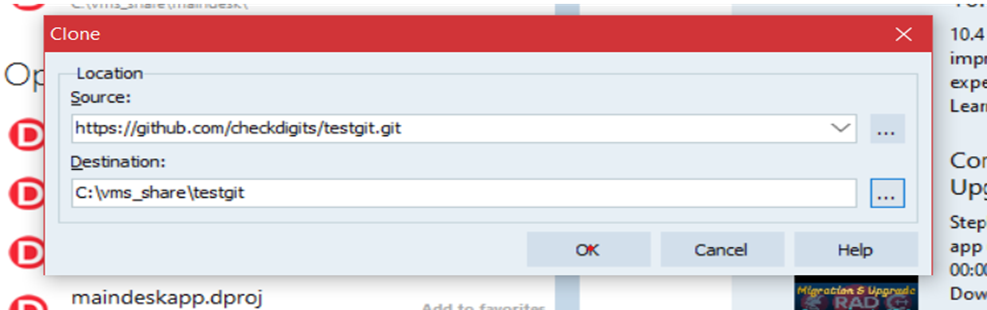
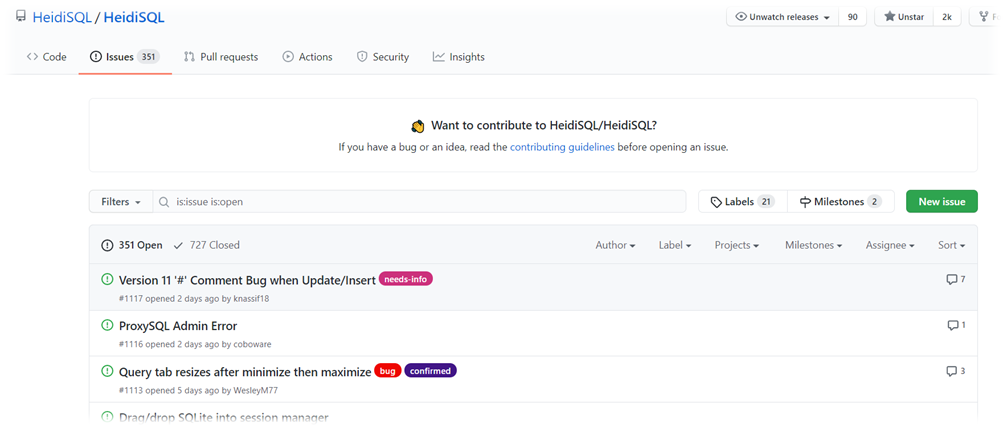
You can find the repo URL on GitHub by clicking on the “code” button
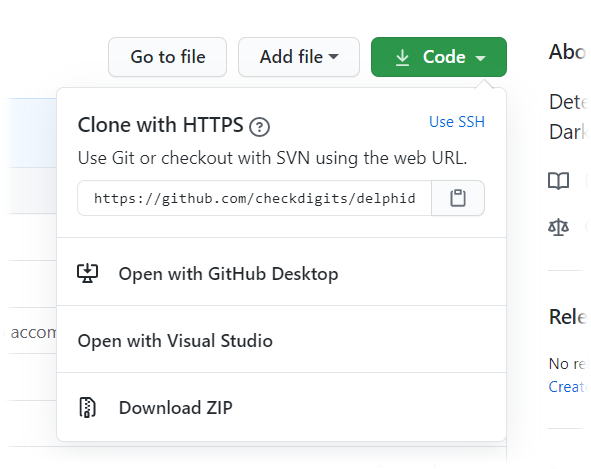
Other hosts are very similar – the keyword to look for is “clone”.
Success!
You’ve just cloned your first repository.
If you look in the folder you entered in the ‘destination’ field when you opened the project from version control you should see all the Delphi code for the project there along with the magic ‘.git’ files and folders we talked about. If all you wanted to do was get a copy of an open source repo then there’s nothing else to do but use the code.
Using Git – creating a new repository
I find this is easier if you use one of the external tools rather than the Rad Studio IDE ?
- You can either create a new repo from existing code
or
- Create a blank (empty) repo and then create a Delphi project in there
Either way you need to have an existing folder on your local machine to hold the repo.
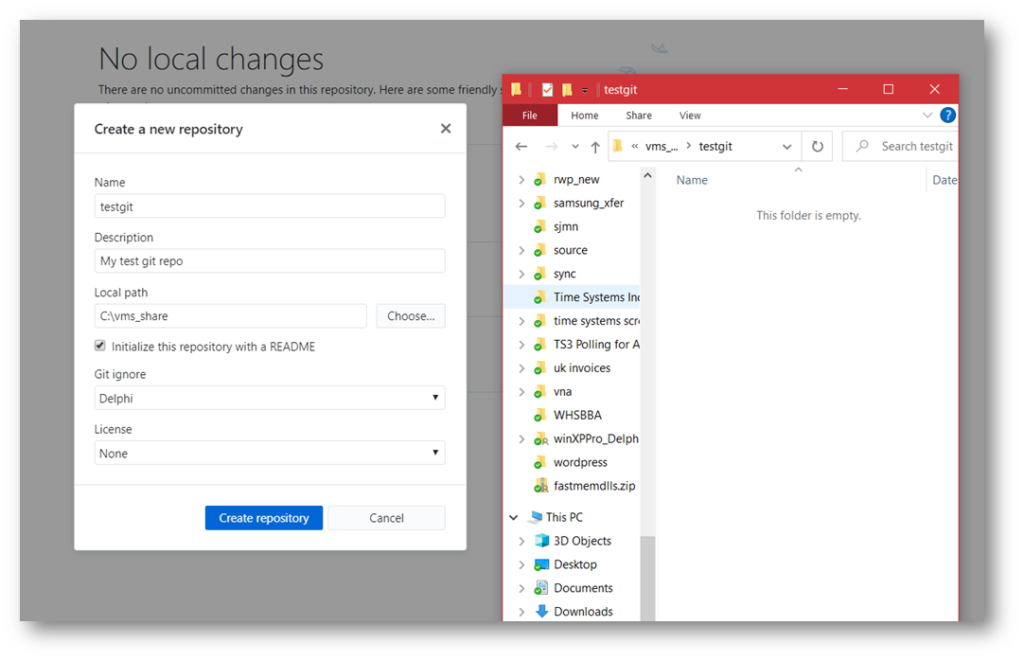
I’m using GitHub Desktop.
I have put the name of the repo as the same name as the folder where I will store my source code.
I have chosen to create a “.GitIgnore” magic file with Delphi settings so it ignores _history and .~* backups.
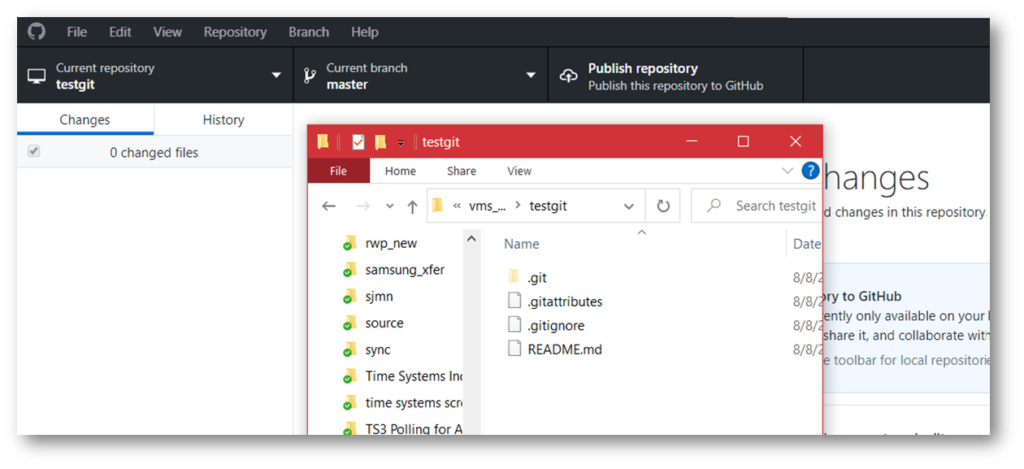
Now my new empty repo is ready to use.
All it contains are the ‘magic’ Git files and in this case an empty default readme file.

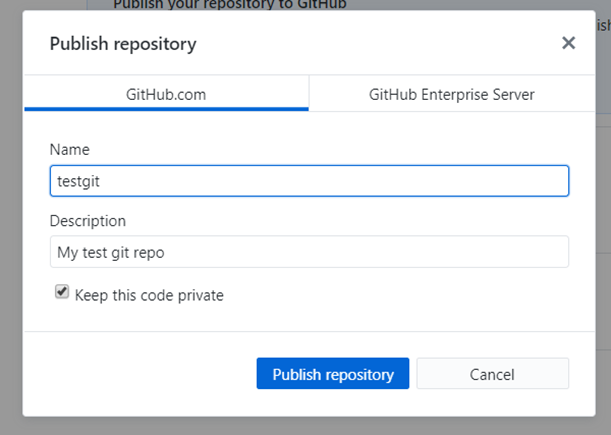
Currently the repo is local only – just on your computer. Click on the publish repository button in GitHub desktop to make a copy of it on the cloud hosting company’s storage space.
IMPORTANT! Tick the “keep this code private” checkbox if it’s a secret/private repo.
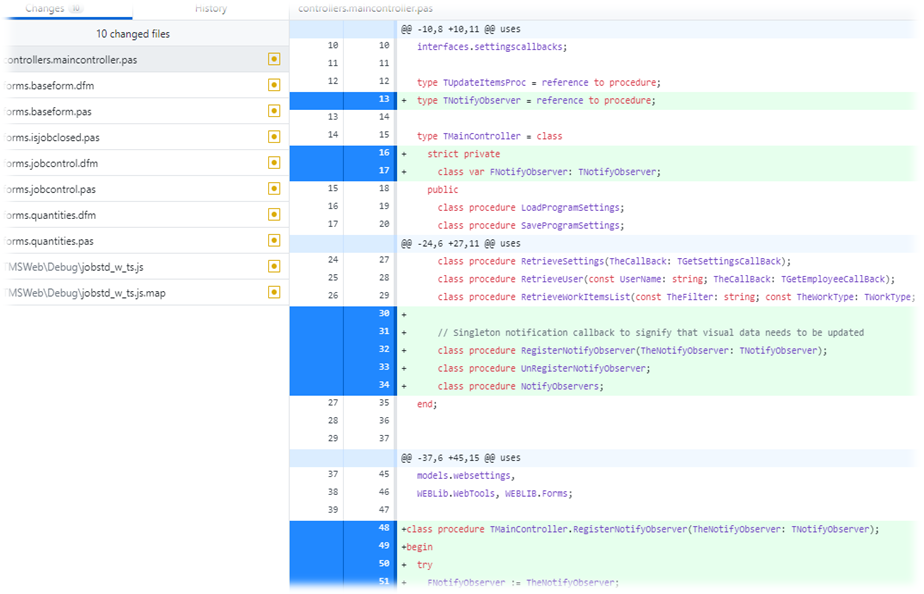
Using Git – changes get automatically tracked
Using Git – changes get automatically tracked
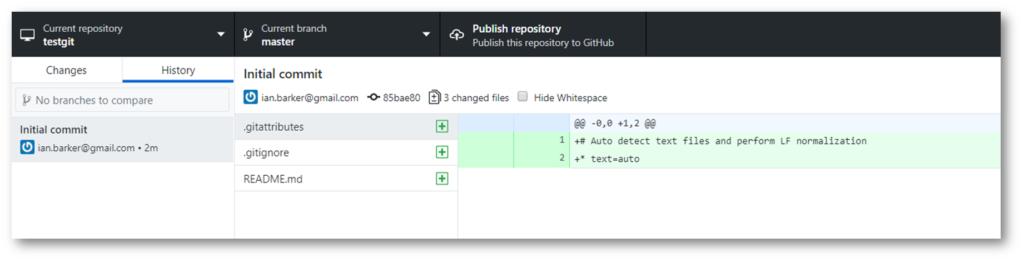
At first the new repo has only one automatically recorded change.
It may show other files if you used an existing folder which already contained a Delphi project or some resources such as graphics.
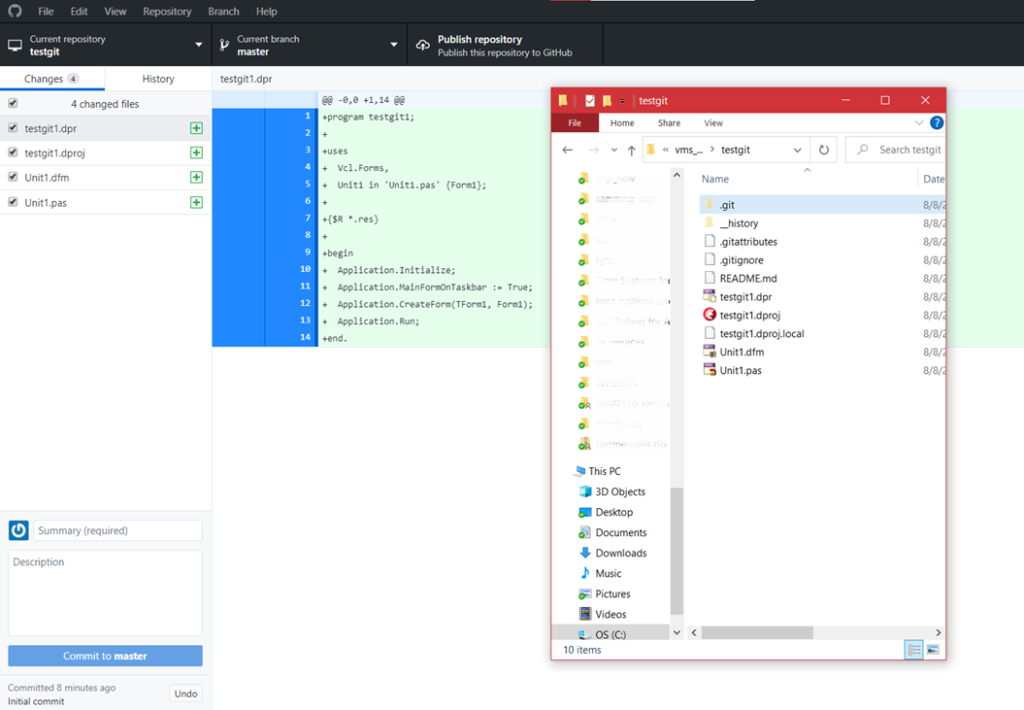
As you start to work on your project and create new files they will be ‘noticed’ by Git and automatically tracked.
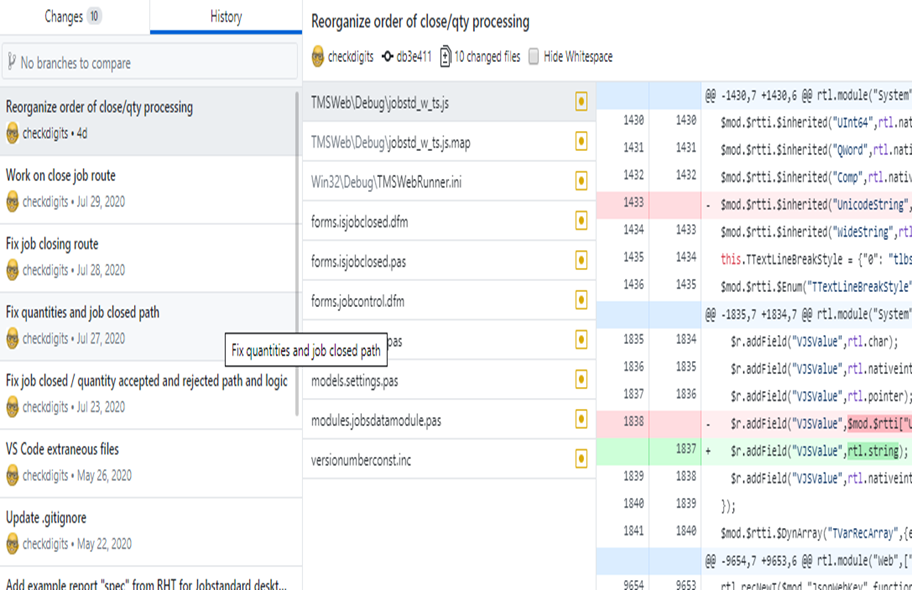
Using Git – saving the changes to the repo
Mark a batch of changes so they are saved into a history point is called a commit.
There are three ways to “make a commit”:
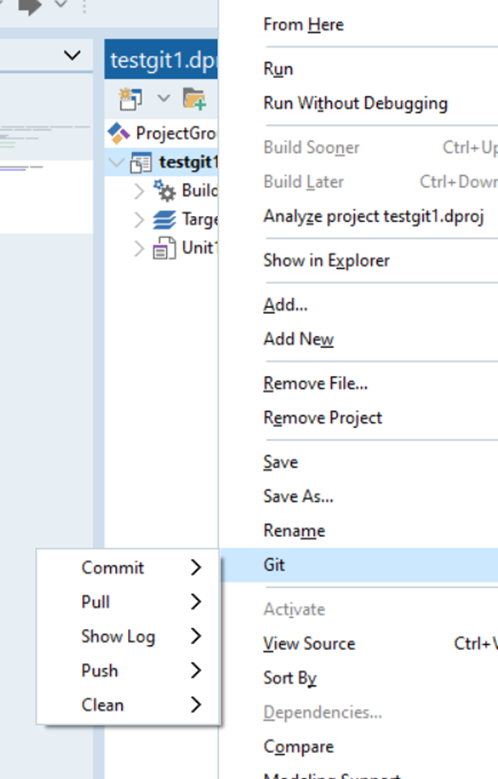
1. You can do it within Rad Studio Delphi itself by right-clicking on the changed file or the project in Project Manager and selecting “commit”.
2. You can do it via the Windows Terminal (a.k.a the ‘command line’) using the Git command line

3. Or use GitHub Desktop / SourceTree to commit the changes:
Whichever way you choose you need to add a “commit message”.
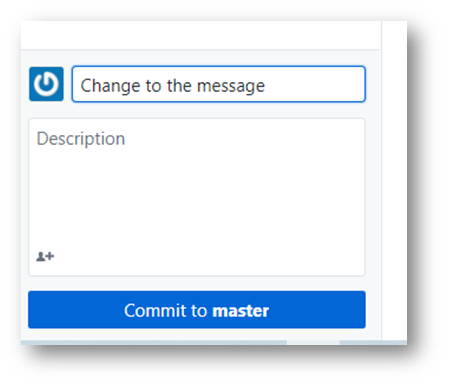
A commit message is a note to say what you changed and why.
These messages are visible to other developers who have access to your repo.
For Open Source projects this could mean literally anyone so it’s best to keep the comments at a professional level ?
Using Git – YOU’RE NOT DONE YET
Even though you have committed (saved) your changes to the repo’s history log they still are only on your local machine.
In order for them to go up to the Git repo hosting space you need to push the changes to the remote copy of the repo.
Depending on what way you prefer you can either
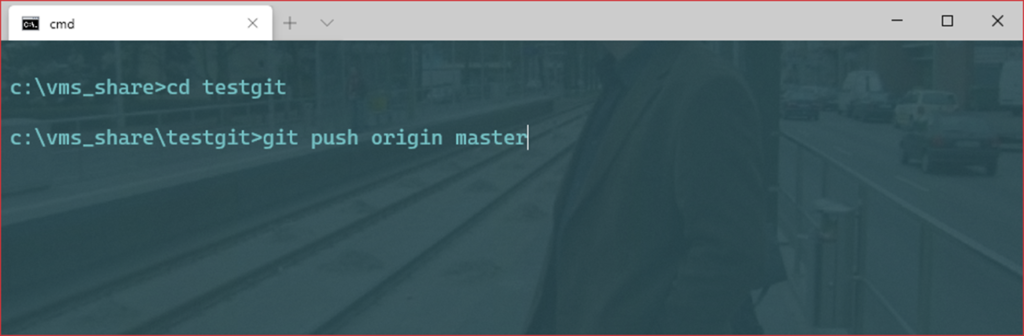
On the command line/terminal you use Git push origin master
OR…
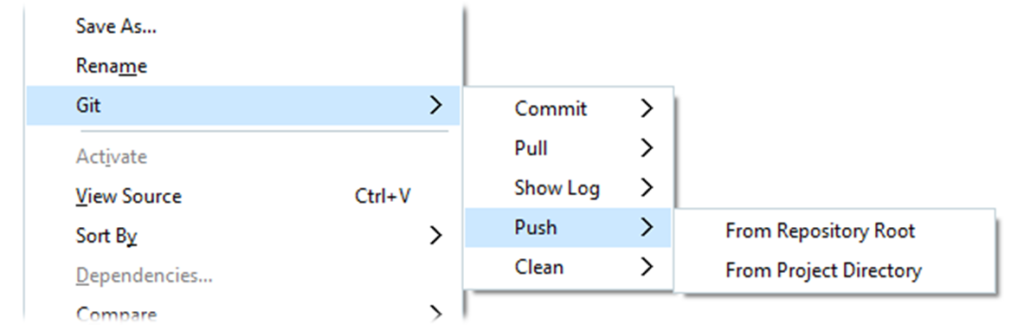
With Rad Studio, right click on the project root and select “Git” and then “push”, “from Repository Root”
OR…
Easiest of all, with GitHub Desktop click on the “Push origin” button

Using Git – You nearly know the basics!
So now we know how to
- Download and install Git
- Some popular tools for Git
- What is Git and how it works
- How to clone (get a copy) of an existing repo
- How to create a new repo
- How to commit (save) our changes
- How to push (send) those changes to the remote (“origin”) internet host
Using Git – but there’s more…
Git has a lot of other things we’ve not shown yet. These include:
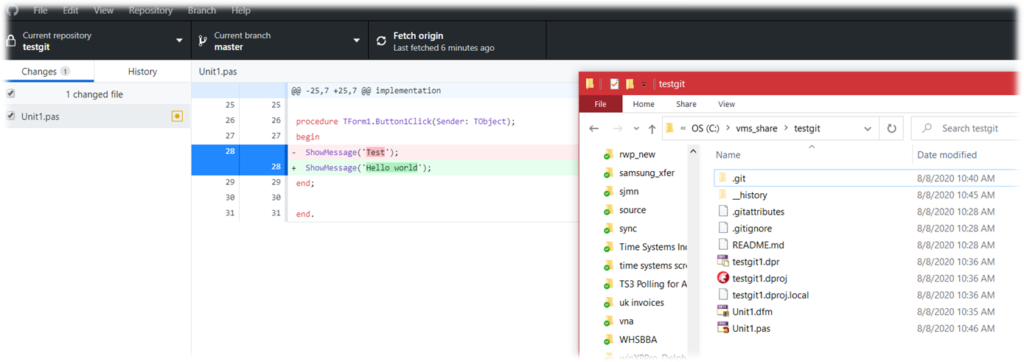
- Fetch – getting any new changes from a shared repo.
- Pull – this is confusingly-named; it’s where someone makes some changes on a public or shared repo and would like you to merge them into the main branch of the code.
- Resolving merge conflicts – this is where two sets of changes to the same file can’t be merged automatically and someone has to intervene to decide which ones to keep.
Branches and pull requests are the two biggest things you will need to understand.
Because we have limited time for this webinar we can’t show you everything so we’re going to do a part two covering the next stage: Collaborating with other developers using Git.
Good resources
- Git The Simple Guide https://rogerdudler.github.io/git-guide
- Git’ Delphi https://fixedbycode.blogspot.com/2015/02/git-delphi.html
- The beginner’s guide to contributing to a GitHub project https://akrabat.com/the-beginners-guide-to-contributing-to-a-github-project/
- GitHub Desktop Documentation https://docs.github.com/en/desktop
- My blog post about this webinar https://tinyurl.com/delphigit
- You can reach me here https://about.me/IanBarker